History of the QUTE
From rust to riches.......
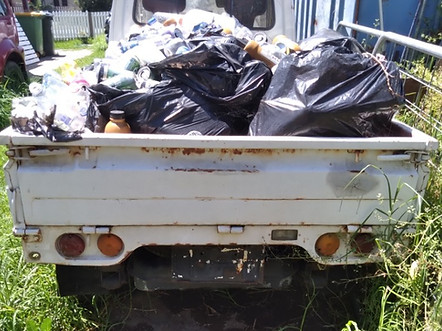
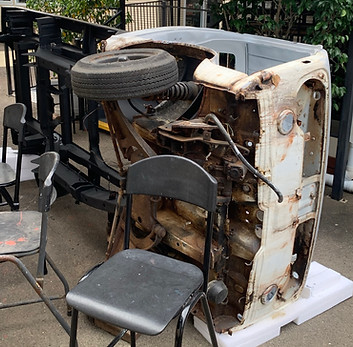
The QUTE was left forlorn and abandoned in a backyard in Albury for many decades. Its main use was as a large rubbish bin. The story of its rebirth, although not complete, is long and difficult...

Weaving the magic...
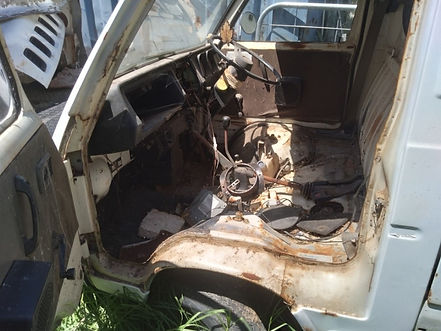
The QUTE arrived at Queenwood at the beginning of 2022. The first job was to strip the vehicle down and decide if the old girl could be saved... it was touch and go!


Removing the rot
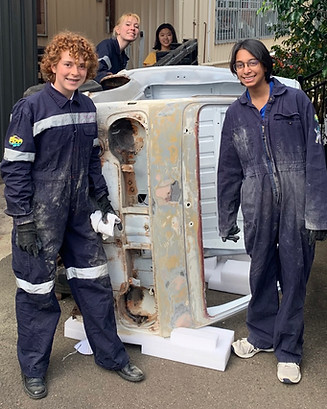
Once the truck was stripped to the shell, repairs could begin
Damien from Northern Beaches Mobile Welding weaved his magic on the structural stuff, and the girls sanded, cleaned and painted everything.


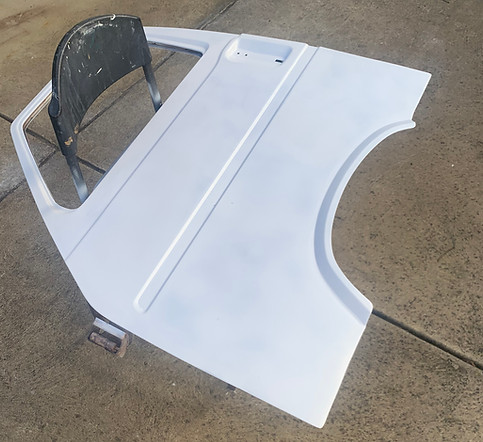
Painting the cab
Quotes for having the cab professionally painted were way too expensive - so instead the cab was painted in Rustoleum rattle can white. We think it came out OK!


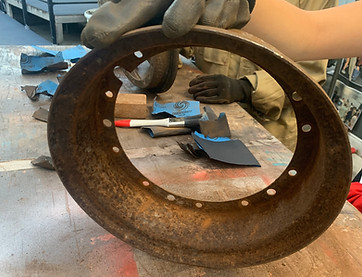
Building the wheels
The wheels are an unusual split-rim design. The advantage of this is that the girls could dismantle, restore and fully reassemble them without any special tools


Fixing the doors
The doors were that special mix of rusty and dented. With some help from Damien from NBMW they are now solid and installed. the winders and locks are not simple...


Rebuilding the rear axle
The rear axle was the first major mechanical component to be overhauled. it was complete stripped, painted and rebuilt with new bearings, seals and gaskets. the rear brakes were also replaced with NOS wheel cylinders and re-bonded shoes. the drums were machined to fit offsite


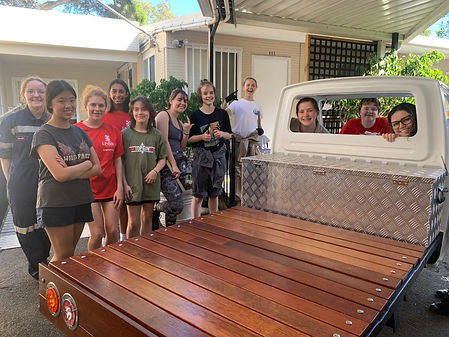
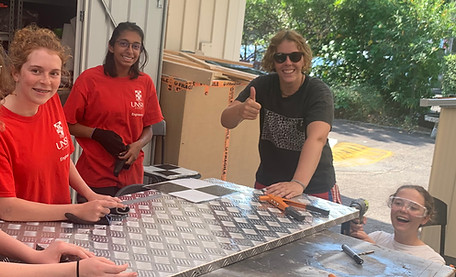
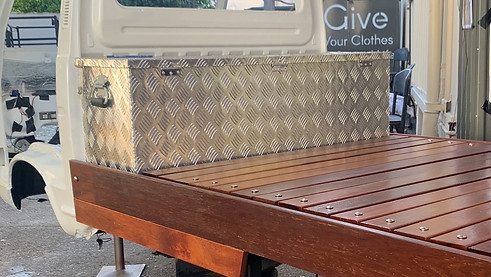
Making the timber deck
The rear tub was missing when we got the truck. We decided to make a timber rear tray, from Merbau decking. The whole rear tray was made onsite by the students to their design


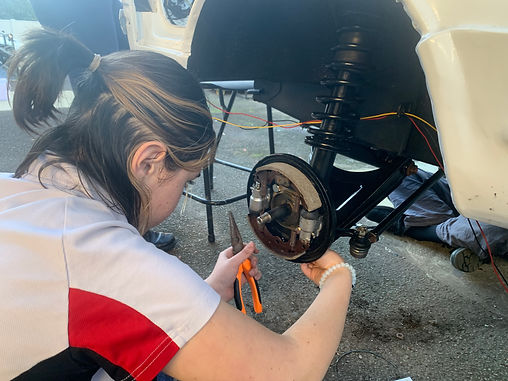
The front suspension, brakes and steering
This has proven to be one of the more difficult parts of the the project so far. This is manly due to a problem locating parts. Unfortunately this has also made it more costly than expected.
The front end was removed and the brakes stripped off and rebuilt onsite. the front subframe was delivered to Pedders Hornsby where it has been stripped for repair. the ball joints were refurbished by The Ball Joint Doctor and the struts reconditioned by WW Shock Absorbers.
Graeme from OzDIY provided the track rod ends FOC NOS (thank you Graeme!) and the assembly has been refurbished and painted by the students before being checked by Pedders prior to installation


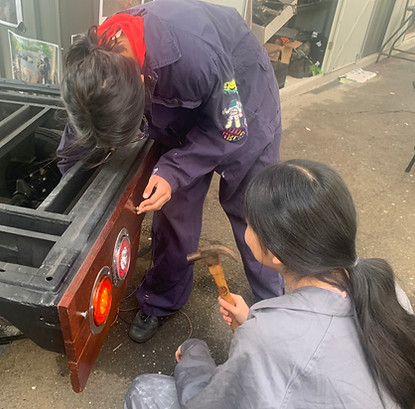
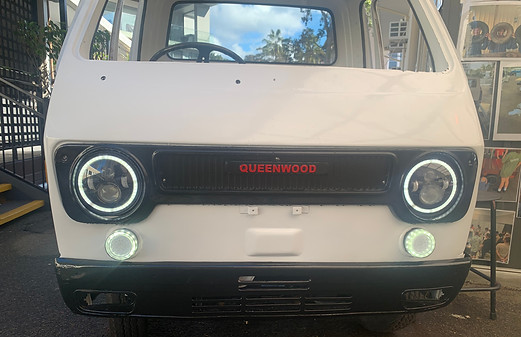
Grille and headlights
Having a complete grille for a 1975 L61 is apparently very rare. We have one, and have adapted it to our project.
The original Suzuki lettering was removed and the QUEENWOOD text was designed in Fusion 360 and printed on one of the school's 3D printers. This was glued to the original grille and the whole thing given a new coat of paint. Still to be picked out in silver or red... At Fully Charged one onlooker remarked they had never heard of the Queenwood car brand, they thought it was a factory part!
The headlights and side lights are LEDs to increase efficiency.


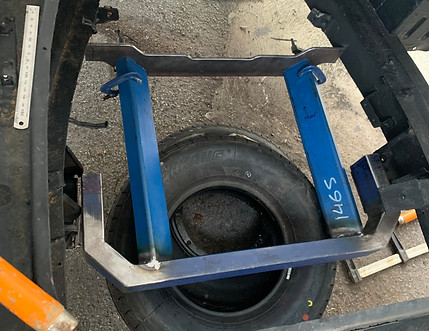
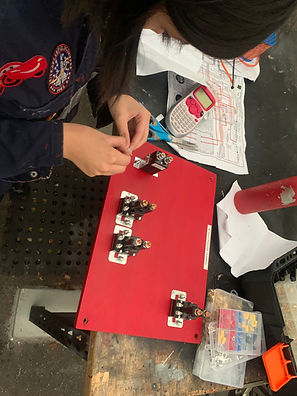
Electric motor mount
Mounting the electric motor is a key complex task. The motor must be rubber mounted to isolate vibration, but must be securely mounted to the vehicle chassis. For registration purposes it must be mounted to the existing engine mounts. All of these parameters make this a particularly challenging task. Luckily for us David has been assisting with this. He has brought his expertise and skill to the fore developing a unique design for a motor cradle to solve this problem. The students worked alongside David in development of the mounting system, but he has been the catalyst here. Thank you David!
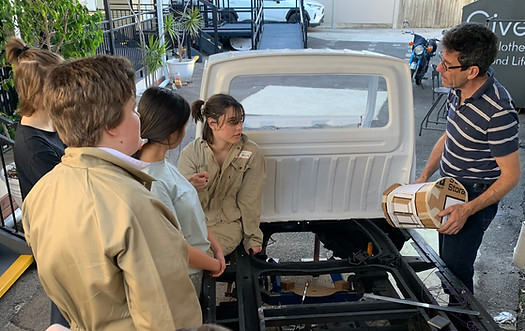


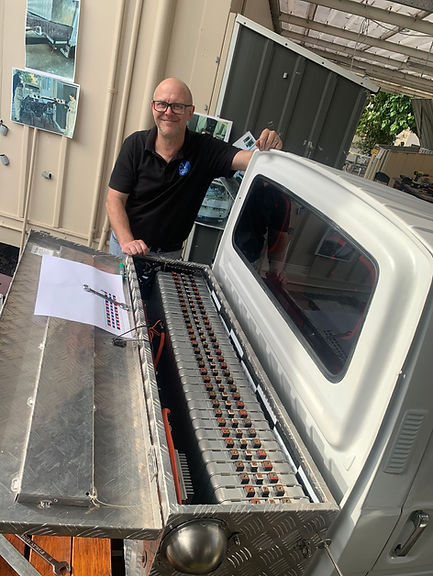
Battery box
The battery box has to hold the 36x8V Lithium Nissan Leaf batteries as well as the 12V battery and associated ancillaries. The box itself is a converted aluminium tool box with the latches modified. It bolts directly to the chassis as it must be able to withstand a roll-over. It is lined with rubber flooring tiles for electrical insulation and sits just behind the cab and directly above the electric motor. The floor has an additional layer of rubber gym mat to act as an insulation against shock for the battery pack.
Motor Controller Mount
The motor controller sits on the right side of the chassis, behind the cab.
the mount is made from an old school desk frame, but up and bolted together. The students designed and built it with help from our engineering wizard David.


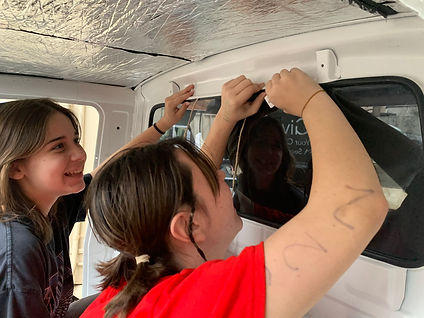
Rear window
The rear window was removed with the rubber intact. this made it an ideal replacement for early re installation. The window was first tinted - to make it look cooler and reduce cabin temperatures - and then re installed. No bubbles!!!!


Interior
The seats were re trimmed by DA Motor Trimming in Queenwood Red. The dash has been custom altered by the students to accept all new switches and lights. scrap steel has been used to make a mount for the stereo head unit - rear camera and audio in one. the carpets have been cut and shaped for added luxury - originally it would have had only a rubber mat. The interior surfaces have been lined with sound deadening material and speakers installed under the seat.
Door cars were signed by the entire team before installing!


Side Mirrors, cushions and seatbelts

.jpg)
Finishing the brake system
The final brake lines have been installed, connecting the front section!


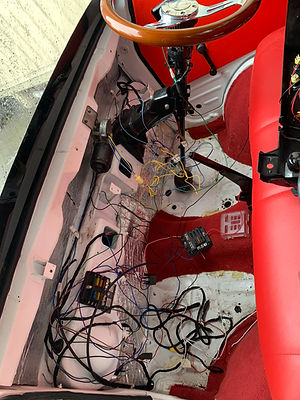
12 Volt System
The horn along with a relay has been installed on the body above the 12 volt battery and connected to a fuse. The dashboard has been wired to connect to the fuse and battery to light the car when started.


High Voltage System
The main sections of the high voltage system has been installed in the battery box. Fans have been installed on both sides of the box powered by a solar panel on the outside. A charge contoller has been installed, a negative board that contains the 12 volt negative terminal, a kill switch and an arduino system with colourful LED lights. The positive board contains the air conditioner, main conductor, charger and DC/DC converter.


Michael of the AEVA helping with the battery installation


handmade copper bars for the high voltage system